Setting up one Airtame device may take a few minutes, but the more you deploy, the faster things will go if you batch the installation, setup, and customization. It is important to first test at least one Airtame on your network to ensure that it gets a valid IP address and appears in your Airtame Cloud account. If any issue arises with the test device, it is recommended to first troubleshoot before proceeding with the mass deployment.
Select one of the below methods:
-
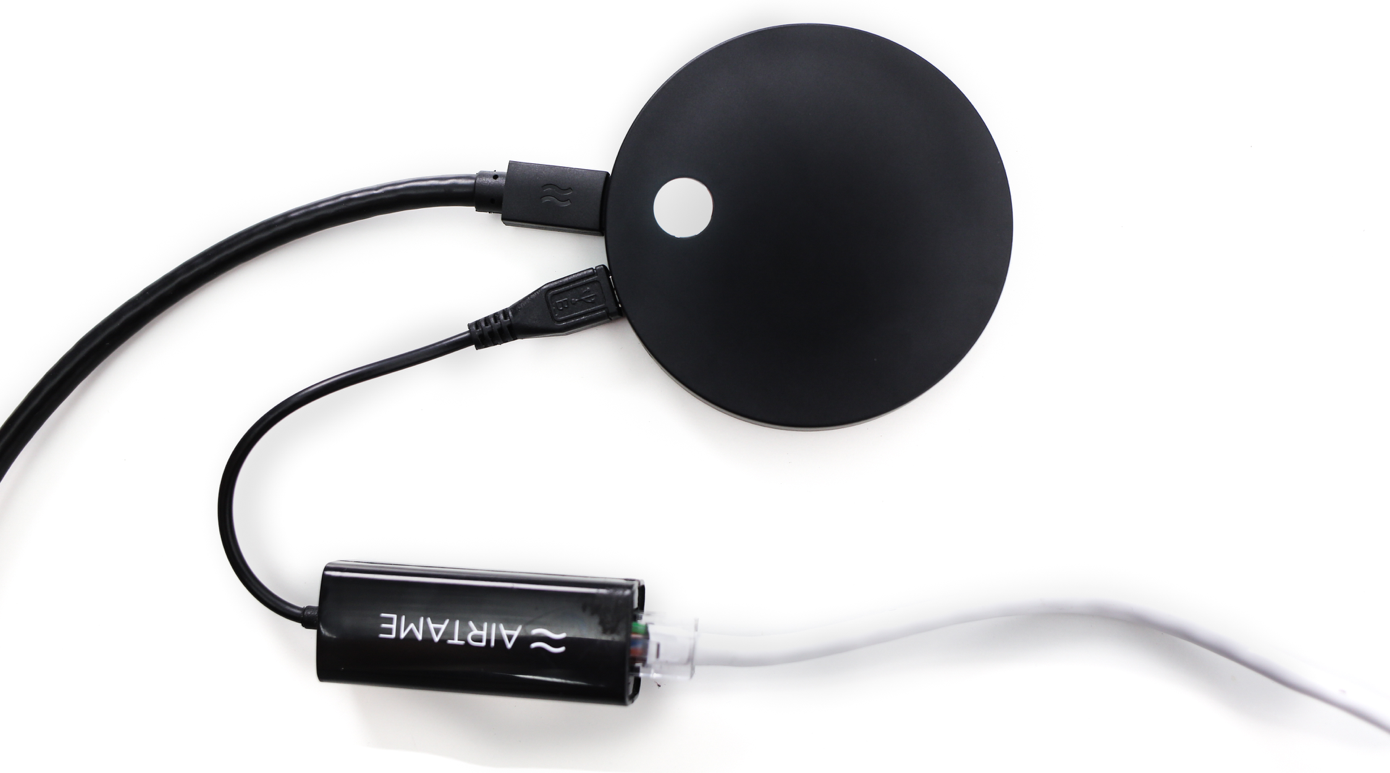
Method one: Use either your Airtame 2 in conjunction with an Ethernet Adapter to provide a LAN connection to your network.
-
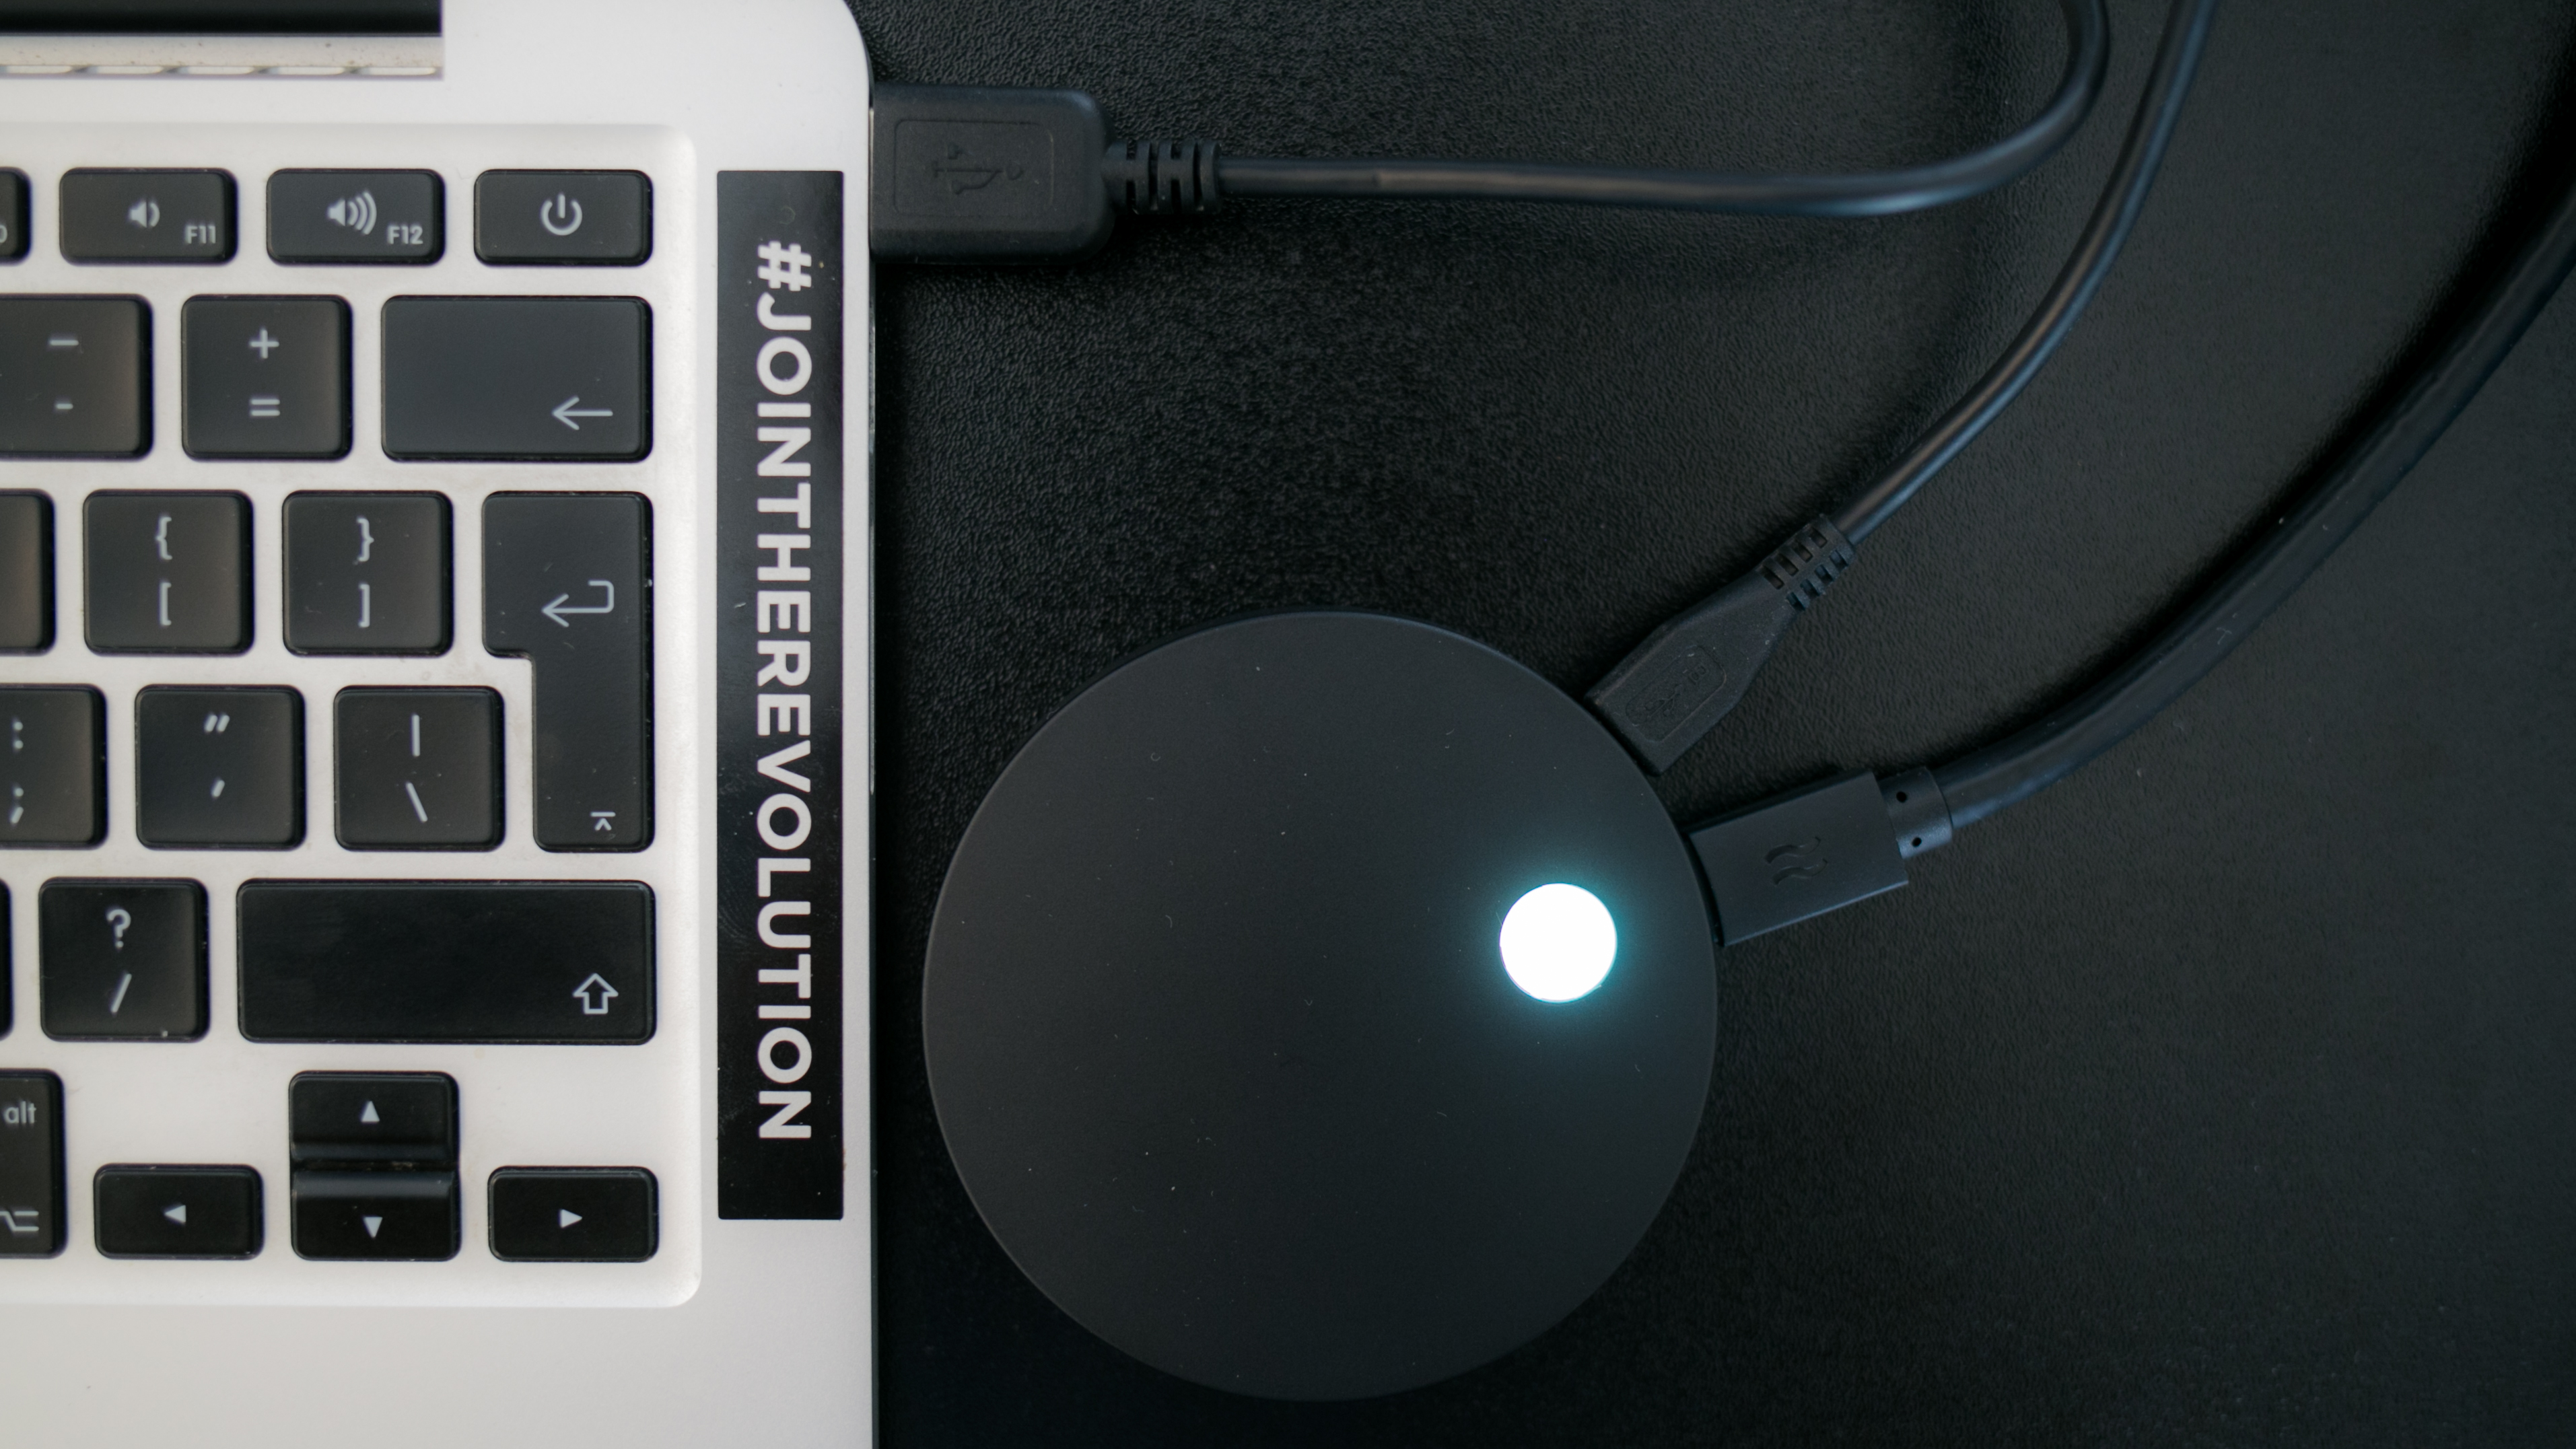
Method two: Only for Apple Computers: Use a USB cable to connect your Airtame 2 directly to your macOS. This means rather than connecting from your macOS to Airtame 2 via WiFi or Ethernet, you will connect using a USB cable.
For both methods you will need the following:
-
All the contents of the Airtame box.
-
A Computer (Windows or macOS)
-
The Airtame app.
-
An Ethernet adapter (Method One) or an Apple computer (Method Two)
-
A labeling system, such as masking tape and a pen
-
A naming convention for your Airtames. e.g.: 101, 102… or Meeting Room 1, 2, 3… Compile a list of all your displays and/or rooms where Airtame will be located. Once you have physically installed Airtame, you can go through the list and check if all the listed Airtames are showing in the app or Cloud.
-
Decide how your Airtames will connect to your network: using WiFi, Ethernet, or WiFi + Ethernet (in case of connecting Airtame to two networks at the same time, requires Ethernet Adapter). Read more about your options for integrating Airtame into your network.
-
An Airtame Cloud account
-
Optional: A monitor
Tip: To speed up the process even more - you can prepare all the information in advance. Use this template sheet to add device names, network information, and cloud tokens in advance and then just smoothly copy-paste them into the correct fields.
Method one: Connect and setup
-
Requirements:
1. SSDP discovery must be enabled on the LAN.
2. The Computer can be connected to the network via WiFi as long as the LAN and WiFi are on the same VLAN.
-
Connect
-
Power up Airtame 2 using the Aircord and the power adapter.
-
Connect to the network using an Ethernet Adapter and a LAN cable.

-
Setup:
-
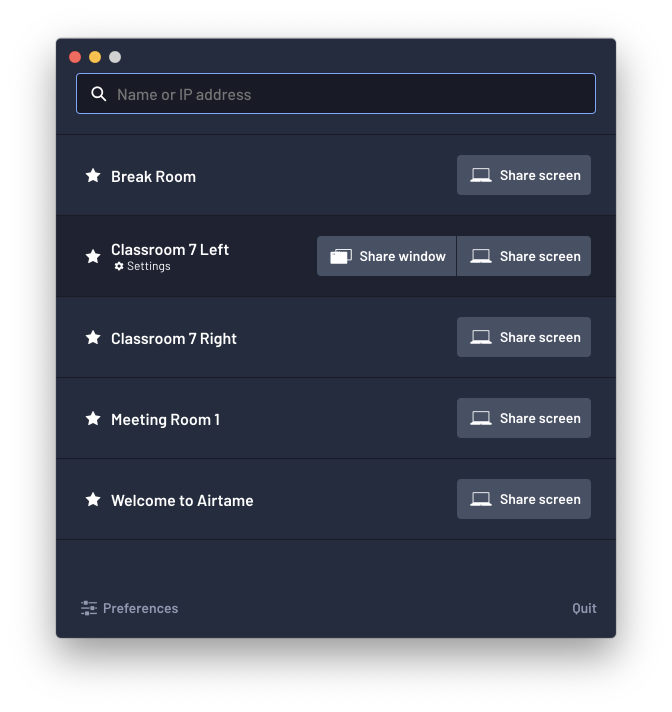
Hover the mouse over the Airtame and click "Settings"
-
Open the template sheet with filled-in information
-
Copy and paste all required information (Including Airtame Cloud Token)
-
Hit the blue "Apply changes" in the lower right corner.
-
Disconnect Airtame from power and LAN.
-
Write a label on the Airtame with its name.
-

Method 2: Connect and setup
-
Connect
-
Power up Airtame 2 using the Aircord and the power adapter.
-
Connect Airtame 2 to your Apple Computer using a Micro-USB cable.

-
Setup:
-
Hover the mouse over the Airtame and click Settings
-
Open the template sheet with filled in information
-
Copy and paste all required information (Including Airtame Cloud Token)
-
For a WiFi setup, scroll down to Network, select the SSID, and enter the credentials.
-
Hit the blue Apply changes in the lower right corner.
-
Disconnect Airtame from power and LAN.
-
Write a label on the Airtame with its name.
-

2. Physical installation
Now you should have a pile of Airtames with their names written on them. It’s time to go out to each location to physically plug in the Airtames to the TV, power up and, if chosen, an Ethernet cable.

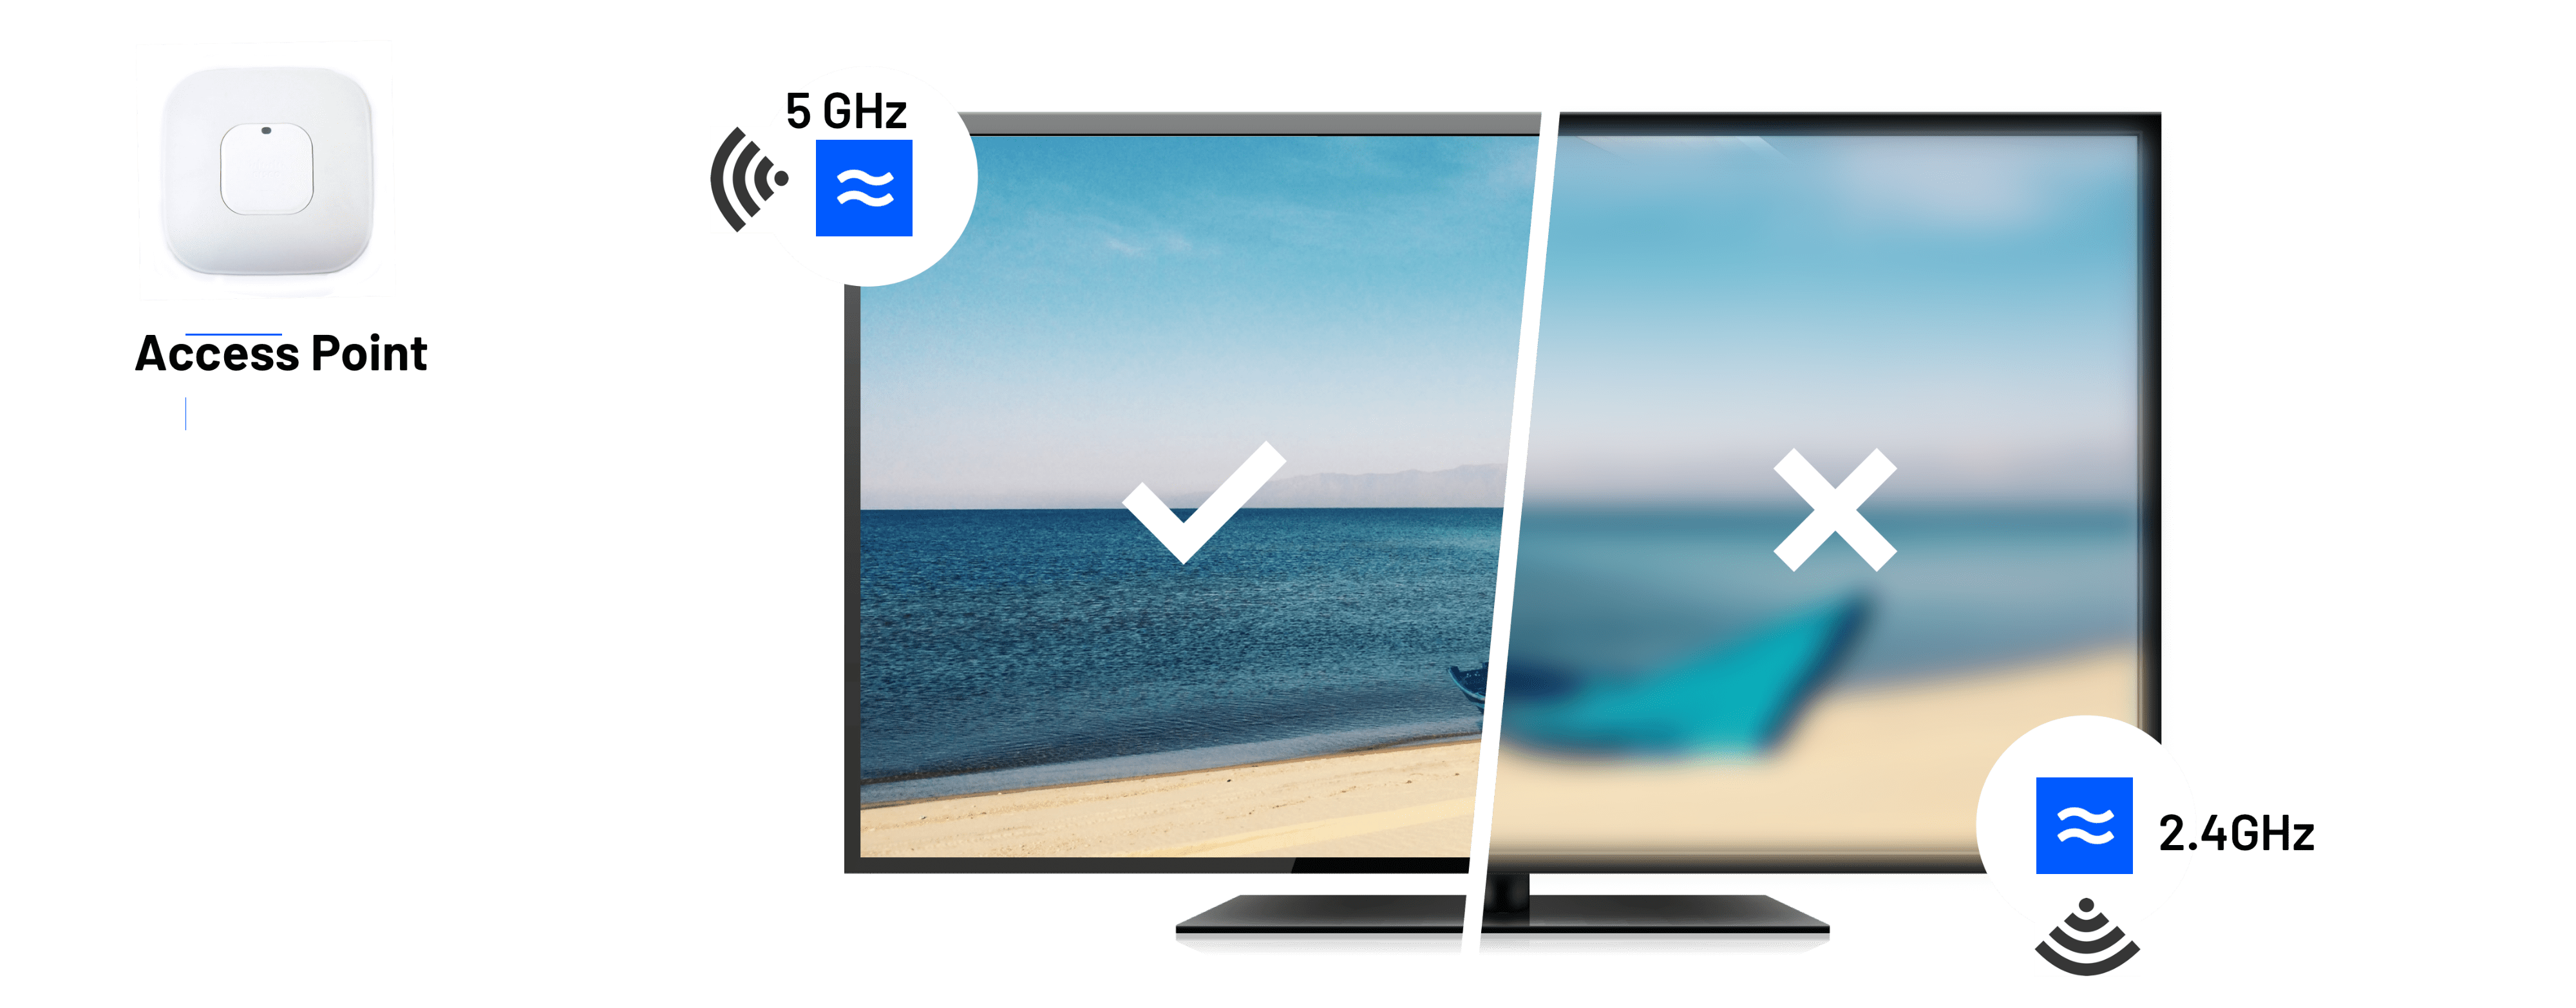
Place the Airtame on the side closest to the Access Point and use 5GHz whenever possible.
Checklist for validating installation:
-
Have a list with the Airtames prepared for you to refer against it and see if all are appearing in the Airtame app as they should.
-
Check that the light is flashing and the Airtame background will show up on the screen.
-
We recommend starting a stream and enabling sound to ensure that all are fully working. For issues streaming with sound, check Troubleshooting sound.
-
If you find the need to adjust contrast or see "black bars" where the image does not use the entire screen, here is an article with tips to Calibrate your display.
-
Lastly, you can monitor the devices in Airtame Cloud as they become online and check the "Signal". If the number is -60dBm or lower, it can lead to reduced streaming performance and instability. Adjust placing of the Airtame to improve this or learn more here, Test & Improve WiFi for Airtame.
3. Complete customization
From Airtame Cloud, you can select multiple Airtames and apply settings in bulk. Below, you will find a list of considerations and recommendations to tailor settings to your needs. For the full checklist, check this article or download the PDF for Airtame 2.
Considerations and recommendations:
-
Configure the home screen: Consider using a theme for a consistent look and customize the overlay guide with relevant information.
-
Access Point: Depending on your chosen network setup, you can disable unused WiFi to reduce interference.
-
Automatic updates: This is enabled by default but for larger installations, it may be useful to disable to test new releases in a safe environment and afterward bulk-update all devices from Airtame Cloud.
-
PIN code connect: This can be enabled which greatly reduced the risk of a user accidentally starting a stream to the wrong Airtame in a different room.
-
Timezone: Select your timezone.
-
Password Protection: create an admin password for the Airtame's settings panel so that users cannot change any settings from the Airtame app without a password. Note that no password is needed from Airtame Cloud.
-
User testing: Lastly, we recommend observing a new user entering the room and use Airtame for the first time. This will help you indicate any potential improvements to the guide, etc.

4. Recommended next steps
-
To learn how to deploy the Airtame app to end-users: Step 2: Providing the application
-
Get end-users familiar with Airtame with these templates and printable guides: Onboard colleagues and guests.